Now we're going to configure the basic reverse-proxy website.
Let's see how it looks now, run:
curl localhost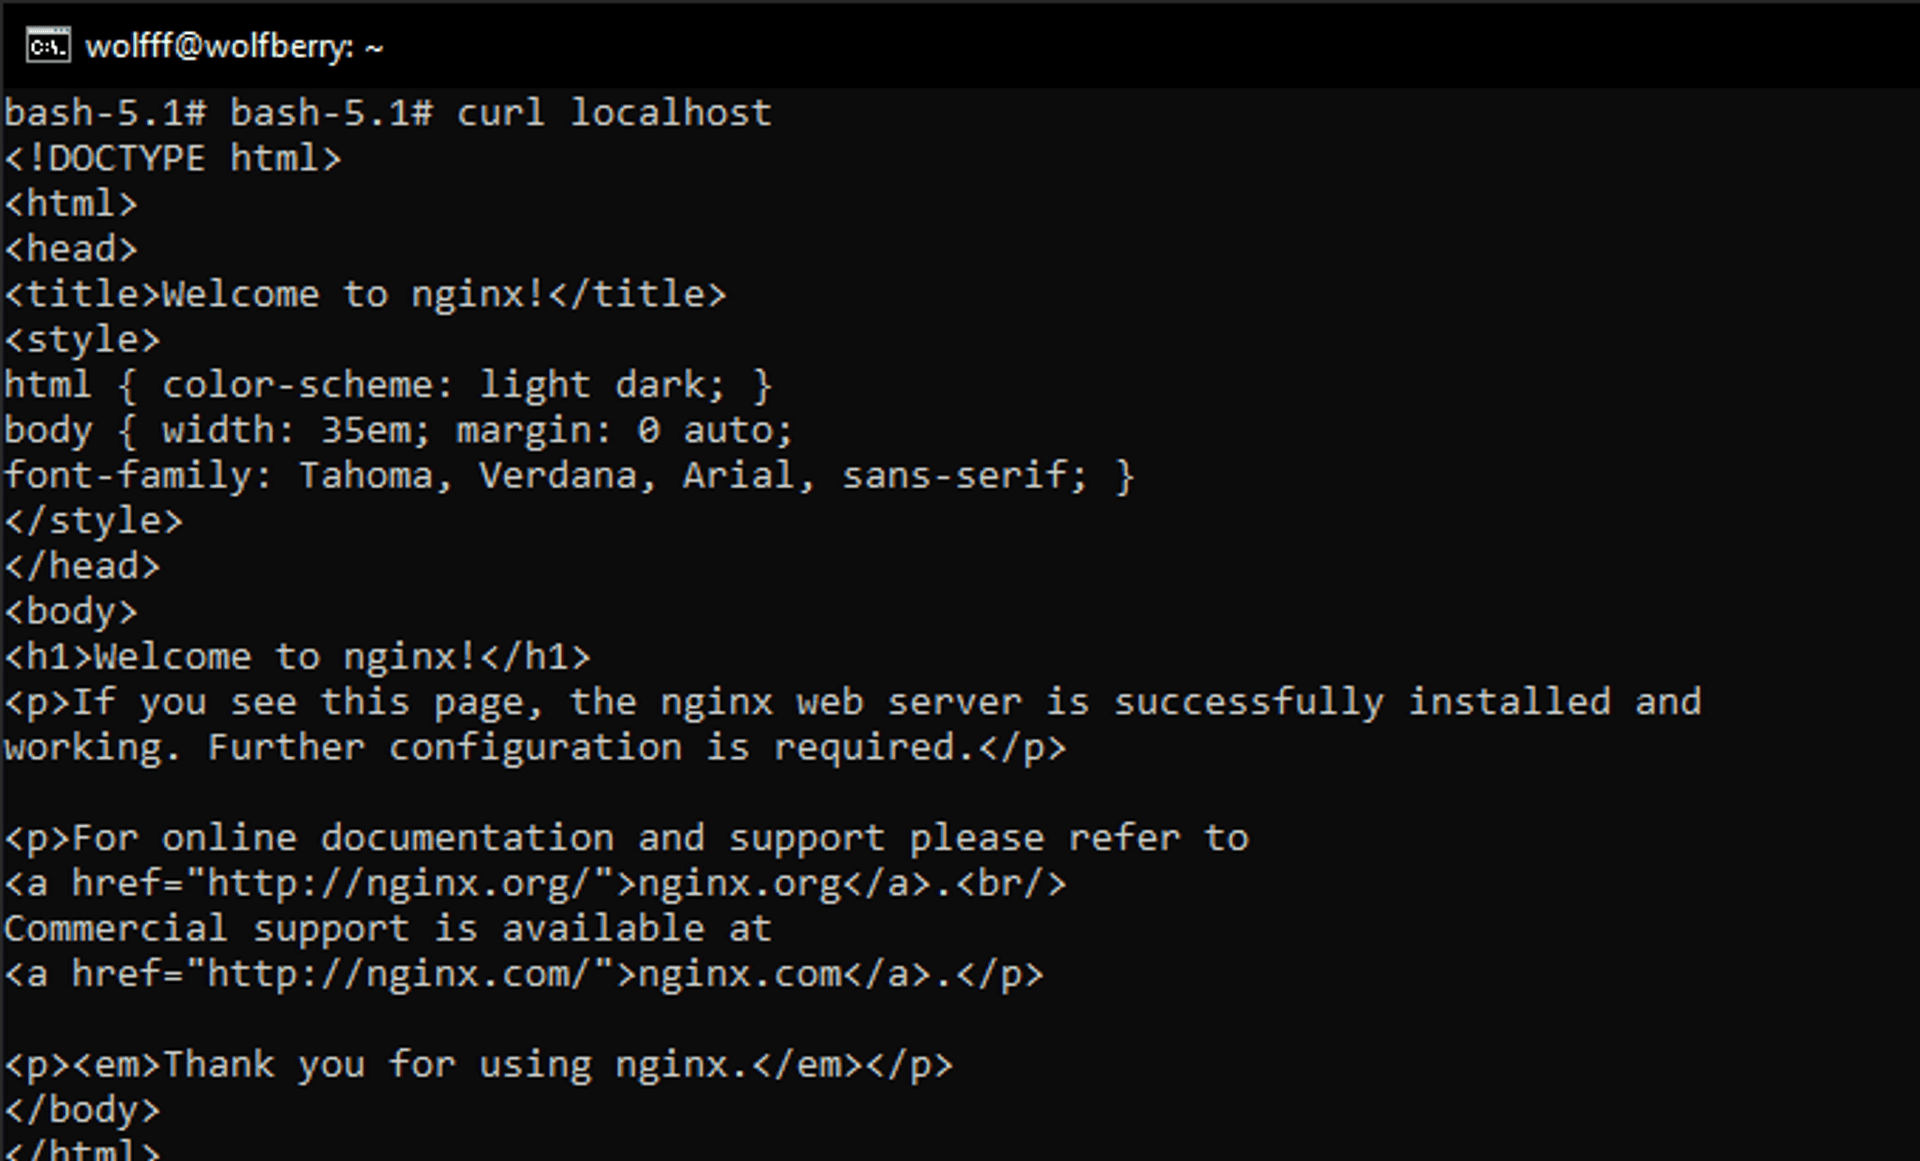
We're getting a default nginx website.
Let's now navigate to /etc/nginx/conf.d/
ls will list items in the current directory.cd etc will change directory to etc.
Use cd .. to go up (back) in directories.
Inside you'll find default.conf file. Let's edit it with nano.
nano default.confThat's the default configuration. We won't be making a lot of changes.
For now lets copy the contents. To copy you can highlight the contents and right-click.
Attacker #
Navigate to the same directory in the attacker container, then create a file in conf.d useing the following command:
touch default.confRight click to paste what we copied earlier.
Now we'll change the port at which we'll listen for connections.
To exit nano you use ctrl+x, then type 'y' to confirm and enter.
Now that we have the default configuration let's modify the index.html a little to make it clear if we get the attacker's website.
Navigate to /usr/share/nginx/html.
Open index.html and let's make it really simple:
<!DOCTYPE html>
<html>
<head>
<title>Welcome to Merlin!</title>
<style>
    body {
        width: 35em;
        margin: 0 auto;
        font-family: Tahoma, Verdana, Arial, sans-serif;
    }
</style>
</head>
<body>
<h1>Welcome to MERLIN!</h1>
</body>
</html>
Let's also go to /etc/nginx/sites-enabled and delete the default file since we're using default.conf file that we created earlier.
rm defaultNow let's reload nginx and see if it works.
nginx -s reload
curl localhost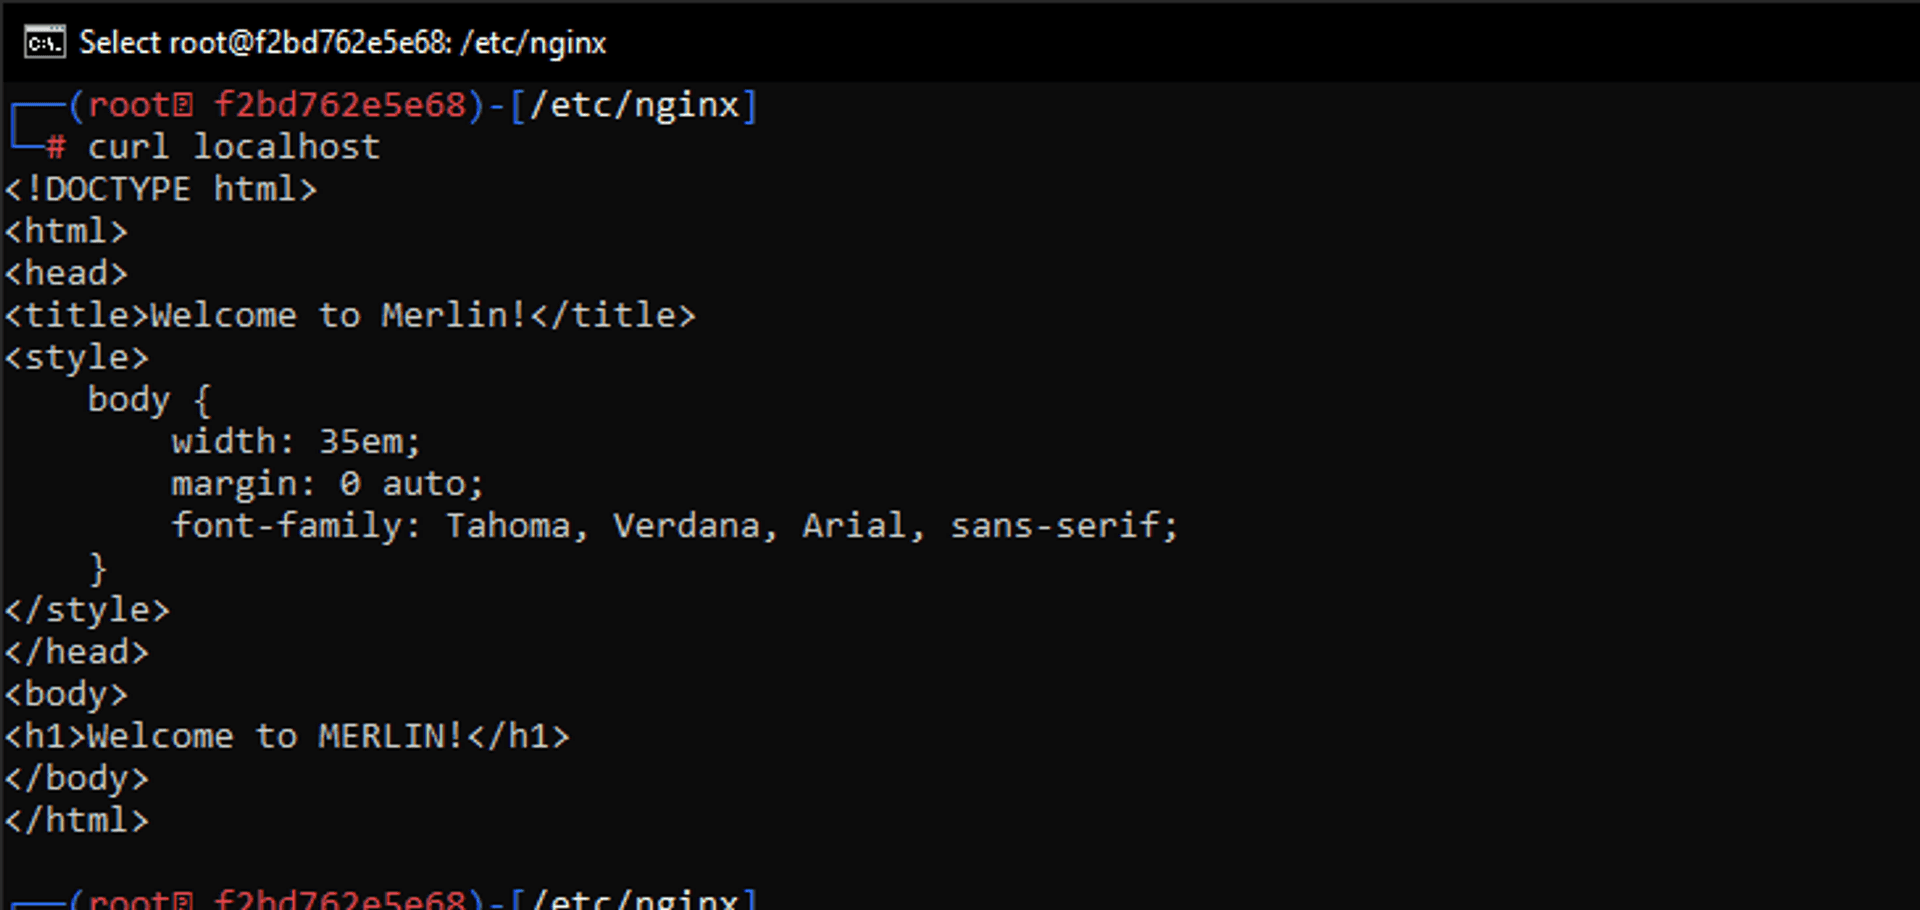
It works!
But if it didn't for you, try the following:
service nginx restart
nginx -s reload -t
Now let's see if we can see this page from the Victim's container.
First, check Attacker's ip with:
ip addrFor me it's 172.17.0.3
Then in Victim's terminal type in:
curl http://172.17.0.3/And it works again!
Previous step Creating Docker containers.
Next step Creating a reverse-proxy.
Published